
If you’ve ever admired those beautifully rustic cakes with exposed layers and just a hint of frosting, you’ve probably wondered how to make a naked cake at home without it looking unfinished. The charm of this style is that it feels both elegant and relaxed, showcasing the cake and fillings instead of hiding everything under a thick coat of icing.
In this guide, you’ll learn how to make a naked cake step by step: planning your design, baking sturdy layers, choosing fillings, assembling and stacking, creating the signature “naked” sides, and decorating with fresh, natural touches. We’ll also talk about when it might be easier (and less stressful!) to let a professional bakery like Nikoo Cake handle the baking and styling for your big event.
Before you dive into how to make a naked cake, it helps to understand what defines the style. A naked cake is all about exposed sides, visible layers, and a natural, handcrafted look.
Instead of a thick exterior of buttercream or fondant, you see the sponge and filling, with only a thin skim of icing or sometimes none at all.
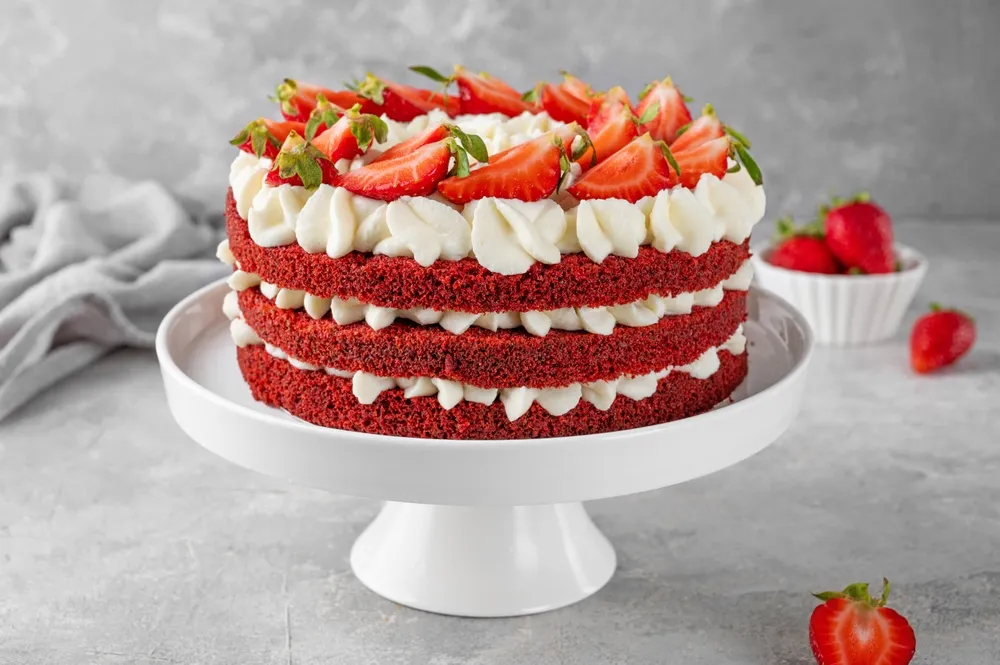
Because the layers are on display, this style celebrates real textures and ingredients. It’s less about intricate sugar decorations and more about the beauty of the cake itself, often topped with simple, organic elements like fruit or flowers.
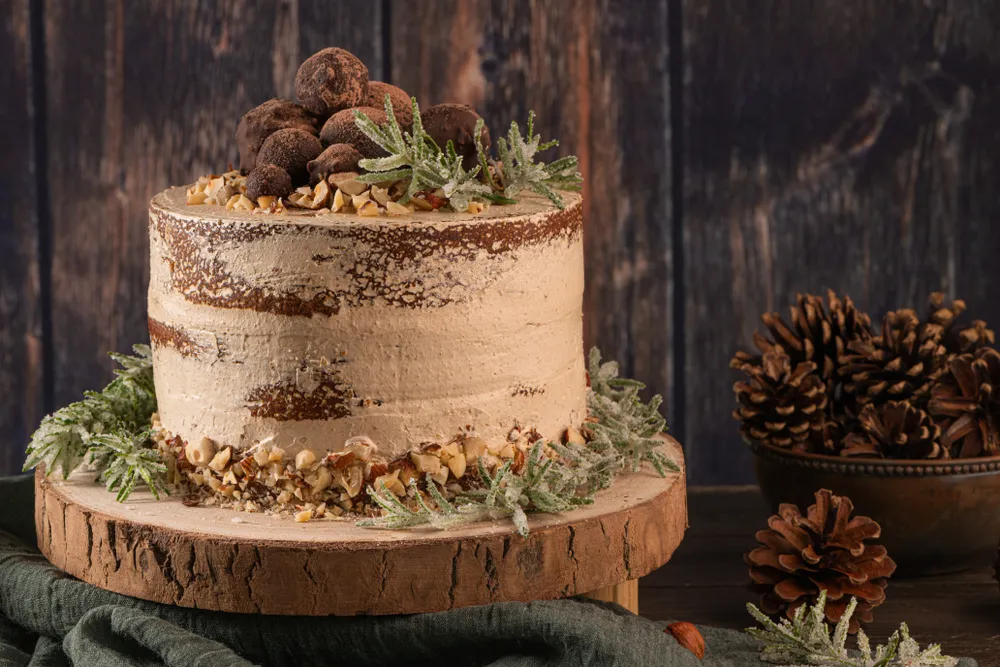
The most important visual trait in how to make a naked cake is the way the sides look: you’ll see clean, even layers of sponge with distinct bands of filling between them. The outside may have a very light smear of frosting, just enough to catch crumbs and soften the appearance, but not enough to fully cover the cake.
The top is often finished with a swirl of frosting and decorated with fresh berries, figs, herbs, or blossoms. The overall effect is intentional and stylish, not “unfinished”—the imperfections are part of the charm.
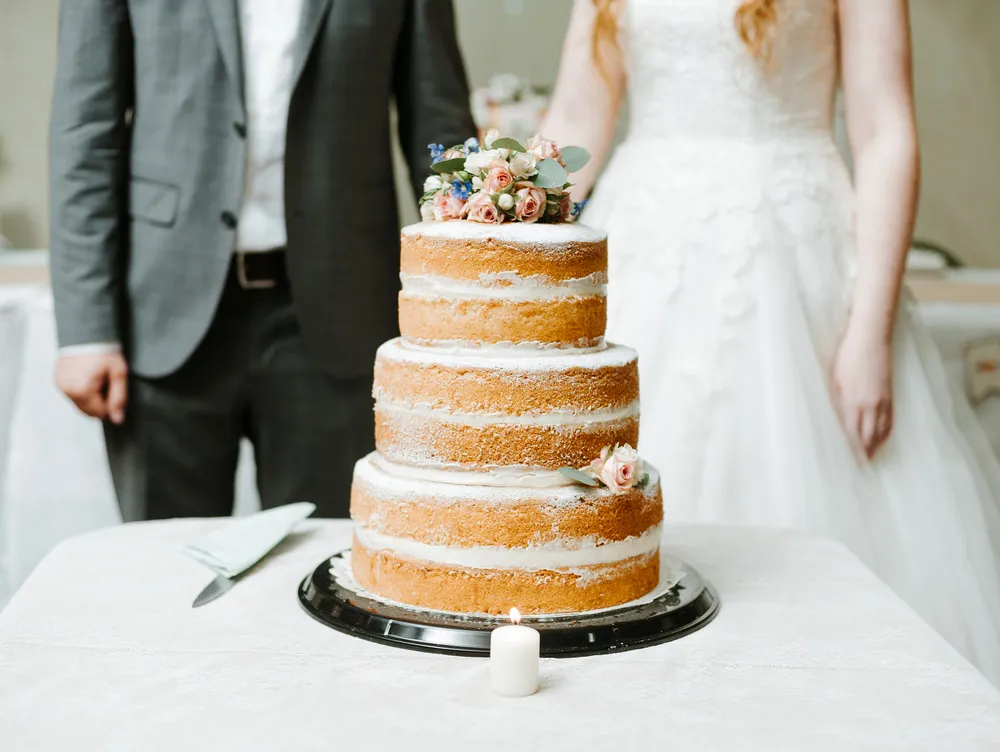
When you’re thinking about how to make a naked cake for an event, it’s easy to see why this style is so popular. It fits beautifully into rustic, vintage, garden, boho, and minimalist themes. It photographs well, looks modern yet timeless, and feels more like something lovingly made in a real kitchen than a mass-produced dessert.
Guests also get a clear idea of what they’re about to enjoy. They can see the flavors and textures, which makes every slice visually appealing as well as delicious.
A big part of how to make a naked cake successfully is planning: deciding how many people you’re serving, choosing flavors, and picturing the final look. Because everything is so visible, planning ahead prevents last-minute stress and mismatched elements.
Think about your event: is it romantic and floral, bright and summery, or cozy and autumnal? Your answers will guide everything from sponge flavor to decorations.
When you plan how to make a naked cake, start with the size. A single two- or three-layer cake is often enough for small gatherings, while weddings and large parties may call for multiple tiers. Naked cakes often look especially striking when they’re tall, with several layers creating strong visual stripes.
Flavors that work well include vanilla, citrus, chocolate, almond, and spice cakes. The sponge should be moist but sturdy enough to stack without crumbling, since the sides won’t be hidden under a thick frosting safety net.
Fillings are crucial when deciding how to make a naked cake because they’ll show on the outside. Classic buttercream, fruit preserves, ganache, or cream cheese-based fillings all look beautiful between layers.
Color is your friend here: pale vanilla cream with a thin ribbon of berry jam, or chocolate ganache between lighter sponge, can make the layers pop. Just avoid fillings that are too runny, as they may ooze out and spoil the clean lines.
The foundation of how to make a naked cake is well-baked, even layers. Since the sponge is part of the final visual design, you want it to bake evenly, cool properly, and be easy to level and stack.
Give yourself plenty of time so you’re not rushing the cooling and trimming steps—that’s where a lot of structure and neatness come from.
Good pan prep is essential when learning how to make a naked cake. Line the bottoms of your cake pans with parchment circles and lightly grease and flour the sides to prevent sticking. This helps the cakes release cleanly and maintain smooth edges.
When mixing batter, follow your recipe carefully. Overmixing can toughen the crumb, while undermixing can create holes or dense spots. Aim for a smooth, even batter for consistent baking.
Bake your cakes until a toothpick inserted in the center comes out clean or with a few moist crumbs. Uneven or underbaked layers will make how to make a naked cake much more difficult later, so don’t rush this step.
Once baked, let the cakes cool in the pans briefly, then turn them out onto wire racks to cool completely. When they’re fully cool, use a serrated knife or cake leveler to trim any domed tops so the layers sit flat and stack neatly.
Choosing and preparing fillings is a core part of how to make a naked cake because these are the stripes you’ll see from the outside. At the same time, you need a small amount of frosting for the top and possibly a light “semi-naked” coat around the sides.
Balance is key: enough filling for flavor and visual impact, but not so much that it squeezes out when you stack the layers.
Most bakers rely on buttercream when they plan how to make a naked cake because it’s stable, pipeable, and easy to flavor or tint. You can make a classic vanilla version, chocolate, citrus, or something more exotic like salted caramel or coffee.
If you’re using softer fillings like whipped cream or mascarpone, make sure they’re stable enough for your climate and display time. Often, combining them with buttercream or using them in thin layers can help.
While working through how to make a naked cake, remember that this style puts flavor in the spotlight. Because there’s less exterior frosting, the sweetness level feels slightly lighter than a fully frosted cake, so you have room to play with richer fillings if you like.
At the same time, each layer of filling adds height and softness. Don’t overfill—too much filling can make the cake lean or squish out at the edges as you stack.
Once everything is baked and ready, the heart of how to make a naked cake is assembling it. This involves stacking the layers with filling and adding a very thin outer layer of frosting if you’re aiming for a semi-naked finish.
Careful stacking gives you straight, stable tiers and clean lines that make the final design look intentional and professional.
Start the assembly part of how to make a naked cake by placing your first layer on a cake board or stand. Spread an even layer of filling on top, going almost to the edge without dripping over. Repeat with each subsequent layer, gently pressing down to keep the stack stable.
Check from several angles to ensure the cake is level. If any layer sits unevenly, adjust before moving on—you’ll see the tilt clearly in a naked cake.
For a semi-naked look, the next step in how to make a naked cake is applying a very thin coat of frosting around the sides and on top. Then, use a bench scraper or spatula to gently scrape most of it off, leaving the sponge mostly visible with just a haze of icing.
For a fully naked look, you can skip this and simply frost the top. Either way, a brief chill in the refrigerator will help the layers firm up and prepare the cake for decoration.
The sides are where you really see how to make a naked cake come together visually. The goal is to showcase the sponge and filling while giving the cake a finished, cohesive feel rather than an unfinished one.
This is more about restraint than excess—less frosting, more confidence in your layers.
To get truly clean lines while you learn how to make a naked cake, pay attention to how the filling peeks out between the layers. If some areas have more filling than others, you can gently smooth or remove excess to create even bands.
If you’re using a semi-naked technique, keep scraping the sides lightly until you’re satisfied with how much cake shows. You can always remove more frosting, but you can’t easily put it back without starting over.
Part of the charm of how to make a naked cake is that small imperfections are allowed. A stray crumb here or a slightly uneven edge there can make the cake feel more handcrafted.
Still, if you see larger gaps or holes, you can patch them with a tiny bit of frosting or filling. Just remember that the decorations you’ll add on top and around the cake will draw the eye, so the sides don’t need to be perfectly flawless.
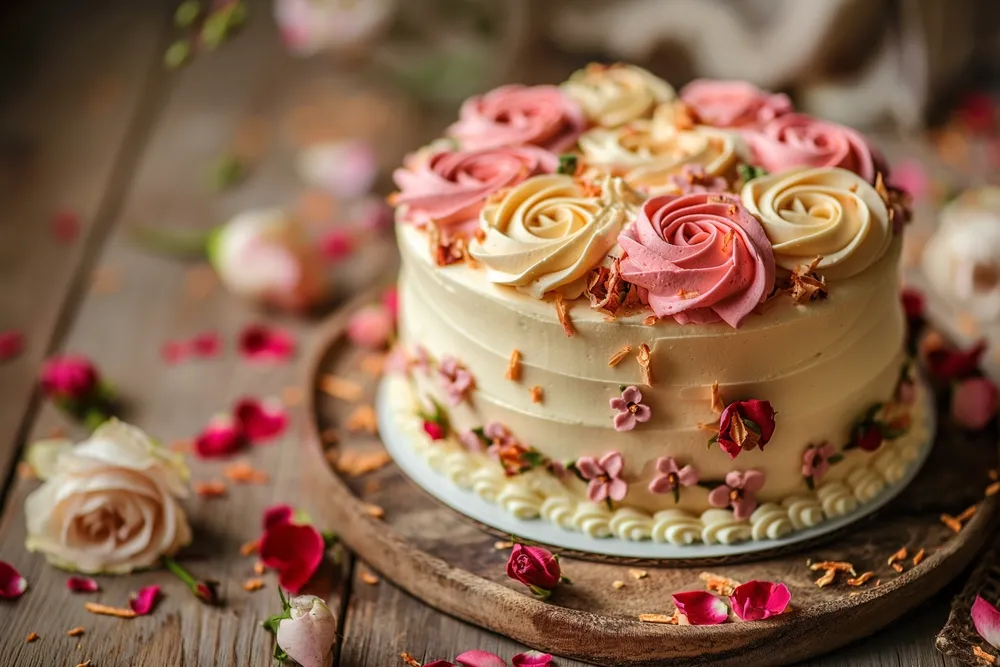
Once the basic structure is complete, decorating is the most creative part of how to make a naked cake. Here, you can tailor the look to your occasion, color palette, and personal style.
Because the overall design is simple, a few carefully chosen decorations can transform the cake into a stunning centerpiece.
Many bakers and hosts discovering how to make a naked cake choose fresh berries, figs, sliced citrus, or grapes for decoration. These add color, texture, and a hint of freshness that pairs beautifully with the rustic look.
Food-safe flowers, herbs, and greenery also work well. Just make sure any florals are non-toxic and prepared properly so they don’t directly touch the cake if they’re not edible.
If you want to add more drama to how to make a naked cake, consider a thin drip of ganache or caramel around the top edge. This adds a modern touch while still letting the sides show.
Custom toppers, macarons, meringues, or theme-specific decorations (like mini banners or figurines) can personalize the design for birthdays, weddings, or seasonal events.
Once you’ve mastered how to make a naked cake, you’ll want to keep it looking and tasting its best until it’s time to serve. Because the sides are more exposed than a fully frosted cake, storage and transport need a bit of extra care.
Temperature, timing, and handling make a big difference in the final result.
When planning how to make a naked cake ahead of time, bake the layers in advance, wrap them well, and refrigerate or freeze them if needed. Assemble and decorate closer to the event so the cake stays moist.
Depending on fillings and climate, a naked cake may need refrigeration, especially if it contains dairy-based fillings or fresh fruit. Take it out of the fridge in time to come to a pleasant serving temperature.
For transport, a sturdy cake board and snug-fitting box are essential when you’ve learned how to make a naked cake. Keep the cake level in the car and avoid long periods in heat or direct sun.
When it’s time to cut, use a long, sharp knife and clean it between slices for neat portions. Each slice will showcase the layers that you worked so carefully to create.
Not necessarily. The steps are similar, but you do need to be more precise with baking, leveling, and stacking since the sides are visible.
Yes. A good-quality mix can work well, especially if you focus on structure and don’t overbake the layers.
Basic tools like cake pans, a serrated knife, spatula, and (ideally) a turntable and bench scraper make the process much easier.
If it’s baked properly, filled well, and stored correctly, it can stay moist. Assembling close to serving time helps, and professional bakers choose recipes that stay tender.
You can always work with a bakery that specializes in this style and order a custom cake for your event.
Learning how to make a naked cake opens up a world of simple, beautiful, and versatile cake designs. By planning your flavors and look, baking sturdy layers, choosing attractive fillings, stacking carefully, and embracing the “less is more” approach to frosting, you can create a dessert that looks as natural and elegant as it tastes. With fresh fruit, flowers, or seasonal accents, a naked cake becomes a centerpiece that fits effortlessly into everything from intimate family gatherings to stylish weddings.
If you love the look of this style but would rather enjoy your event than stress over baking, stacking, and decorating, Nikoo Cake is here to help. The team at Nikoo Cake specializes in custom naked cakes tailored to your flavors, colors, and theme—whether you want a single rustic tier or a multi-level showstopper. From recipe design and flawless stacking to artful decoration with fruit and florals, Nikoo Cake can transform your ideas into a beautifully crafted naked cake that your guests will remember long after the last slice is gone. Get a quote today.